The scanner feature is designed to streamline the digitization process, reduce paper waste, protect customers' Non-Public Information (NPI), and enhance the efficiency of the sales workflow. Follow these steps to use the scanner effectively:
Access the Scanner:
- Navigate to the relevant deal jacket in the system.
- Click on "Scan Documents". A QR code window will open.


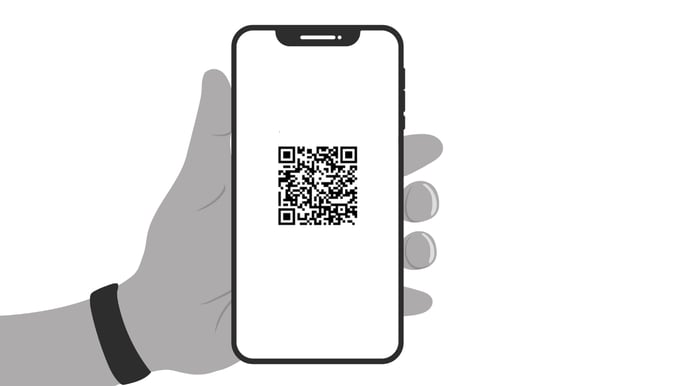
Open the Scanner on Your Phone:
- Open your phone's camera and point it at the QR code displayed on your screen.
- Tap on the link that appears. The scanner interface will open on your phone.
Prepare to Scan:
- Place the document (e.g., vehicle registration, ID proof) on a flat, dark surface.
- Ensure the document is fully visible, with all corners clearly in view.
- Hold your phone camera steady and straight above the document.
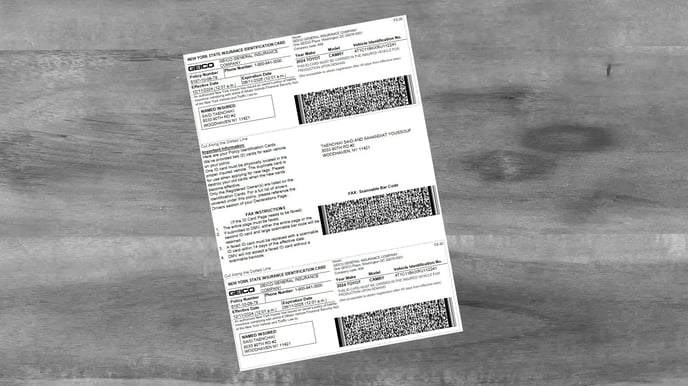
Automatic Scanning:
- When the frame around the document turns green.
Attention: the system will automatically begin scanning—there is no need to click anything.
Once a page is successfully scanned, a blue "Review (1)" button will appear in the bottom right corner, indicating one page has been captured.

Continue or Finish Scanning:
- To scan additional pages, simply move the camera to the next document page, and the scanning will continue automatically.
- Once all pages are scanned, tap the "Review" button.

Review and Upload:
- Provide a title for the document.
- Click "Upload" to save the PDF to the deal jacket in the system.
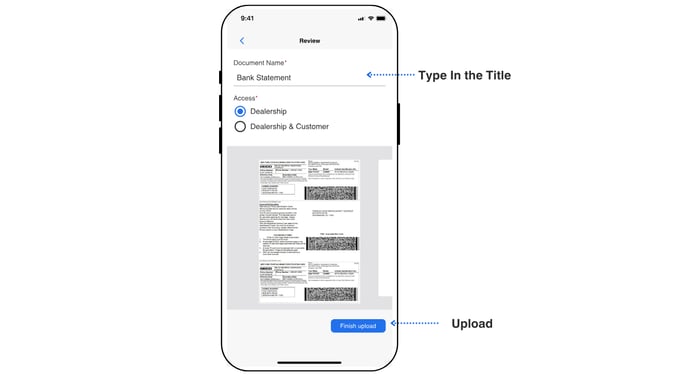
The scanned document will be uploaded into TDC deal jacket, without leaving the traces on your device.