The Digital Scan feature allows users to scan physical documents directly into the TDC Digital Deal Jacket. This feature is available via both the Buyer Portal (on kiosks and mobile devices) and the Dealer Dashboard. For instructions on scanning via the Dealer Dashboard, refer to this guide.
In this article, we'll cover how to scan documents using the Buyer Portal on a kiosk.
Steps to Scan Documents via the Buyer Portal on a Kiosk
1. Access the Digital Scan Feature
- Inside the Buyer Portal, navigate to "Additional Documents."
- Click on "Add."
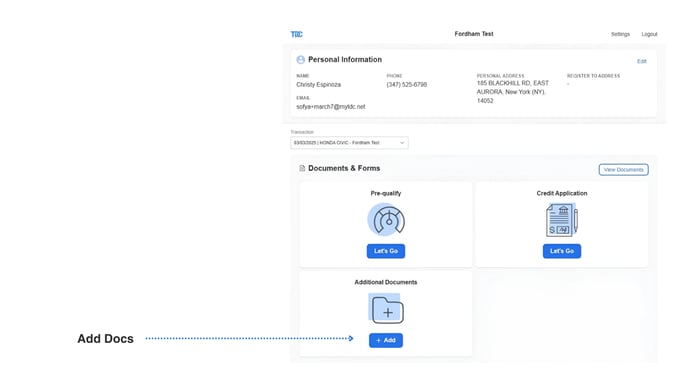
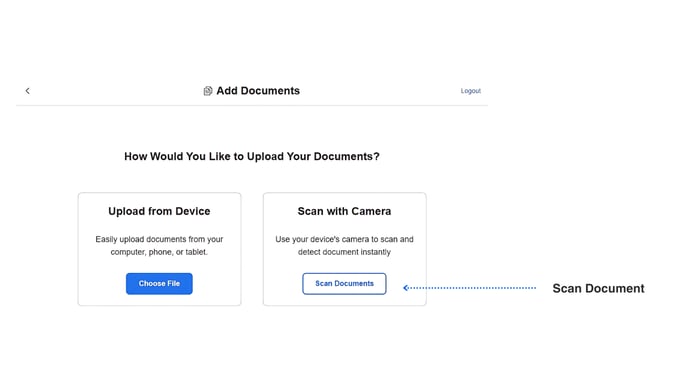
- Select "Scan Documents."
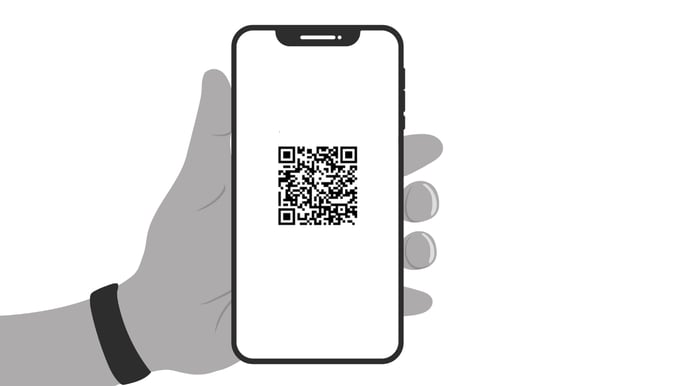
2. Generate the QR Code
- A window will open displaying a QR code.
- You will use a mobile phone to complete the scanning process.
3. Scan the QR Code with a Mobile Phone
- Open the camera on any mobile phone (salesperson’s or customer’s device).
- Point the camera at the QR code displayed on the screen.
- A link will appear—tap the link to open the scanning interface.
4. Prepare to Scan:
- Place the document (e.g., vehicle registration, ID proof) on a flat, dark surface.
- Ensure the document is fully visible, with all corners clearly in view.
- Hold your phone camera steady and straight above the document.
5. Automatic Scanning:
- When the frame around the document turns green.
Attention: the system will automatically begin scanning—there is no need to click anything.
Once a page is successfully scanned, a blue "Review (1)" button will appear in the bottom right corner, indicating one page has been captured.

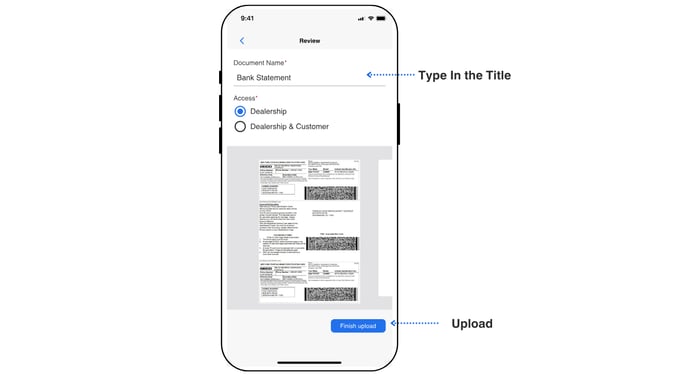
6. Title and Upload:
- Provide a title for the document.
- Click "Upload" to save the PDF to the deal jacket in the system.